

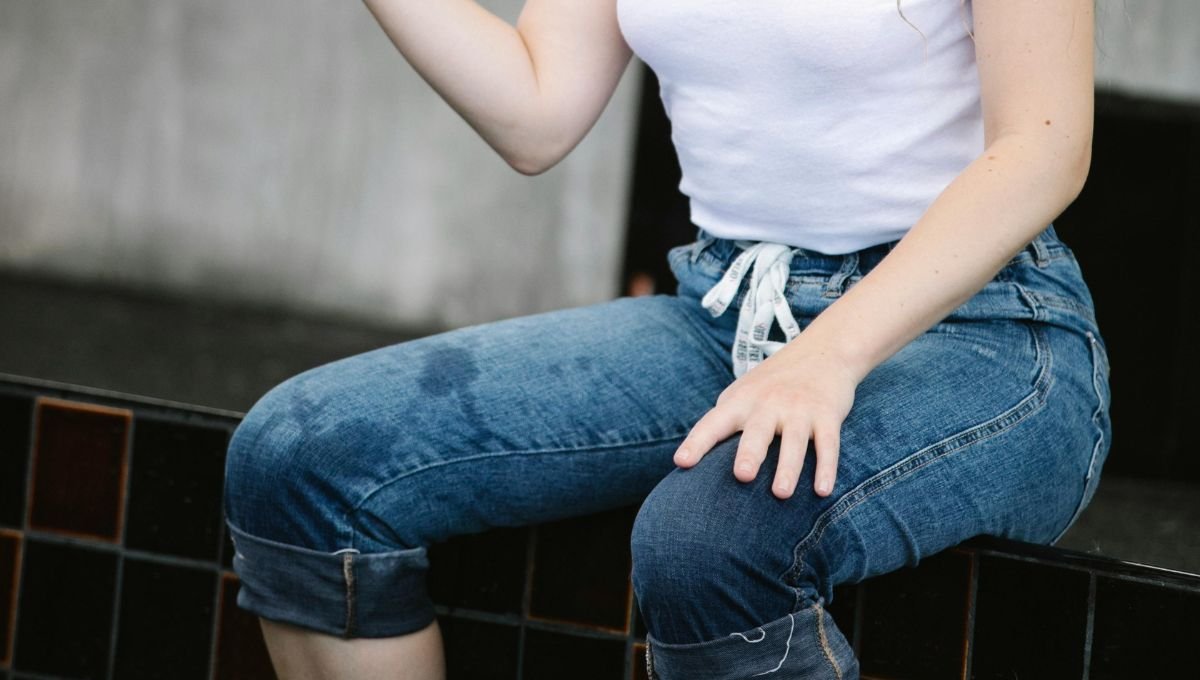
A wall sit looks simple, lean against a wall, bend your knees, and wait for your legs to start shaking. But how long should you be able to last?
What counts as a wall sit?
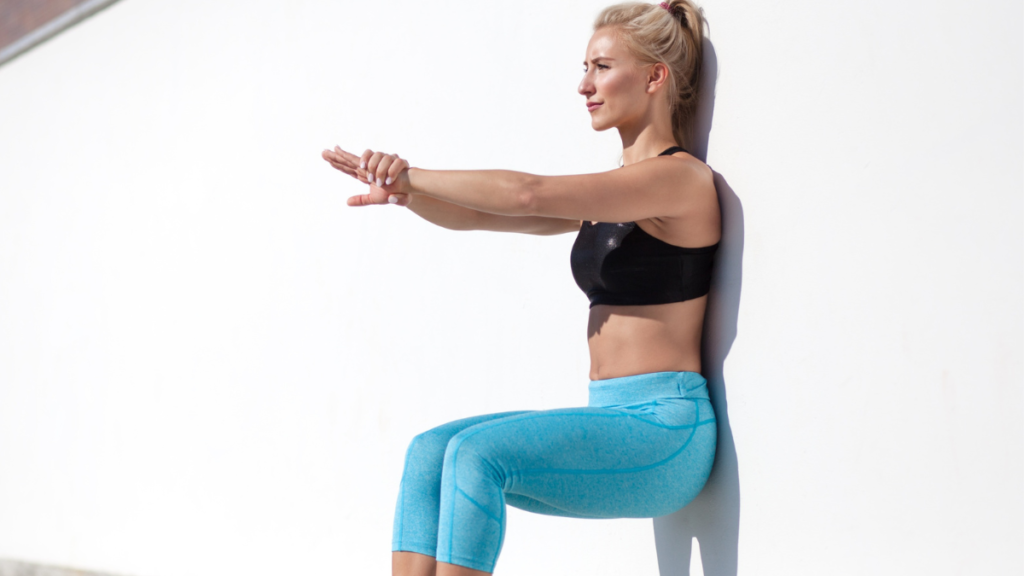
A wall sit is an isometric exercise. Your muscles produce force while your joints stay in roughly the same position. The wall supports your back, while your leg muscles work to hold you in place. Unlike a squat, you do not repeatedly lower and raise your body.
That does not make the exercise easy. As you hold the position, your thighs and glutes may start to feel tired or burn. The muscles are working continuously, and the effort can rise as the hold continues. Research on wall squats has found that perceived effort increases with both time under tension and the difficulty of the position.
How long should a beginner hold a wall sit?
There is no widely accepted beginner standard that says a particular number of seconds is good, average, or poor. Wall sit performance depends on how low you sit, how closely you follow the form, your training history, and what causes you to stop. A time recorded with your thighs above parallel is not directly comparable to a time recorded with your thighs parallel to the floor.
For a beginner trying the exercise for general fitness, a sensible first target is 20 to 30 seconds with steady form. If you can hold that comfortably, you could gradually build toward 45 to 60 seconds. Treat these as practical training goals, not scientifically established pass marks or age based norms.
If your first attempt lasts less than 20 seconds, that does not mean you have failed a fitness test. It gives you a starting point. If you can hold the position for much longer than a minute, you can make the exercise more challenging by adjusting your position or adding a carefully chosen variation. Simply chasing a longer time is not the only way to make progress.
Why your wall sit time can vary
Your knee angle changes the difficulty
The lower you sit, the more demanding the position usually feels. In a study that tested wall squats at different knee angles, participants showed higher heart rates and blood pressure at lower knee angles. The researchers found that knee angle could be used to adjust exercise intensity.
This matters when you are measuring your progress. If you sit lower on one attempt than another, the times do not represent the same test. For a consistent comparison, use the same wall, foot position, depth, and timing method each time. You do not need to force your thighs to parallel if that position is uncomfortable or difficult to control.
A longer time does not tell the whole story
The wall sit measures how long you can maintain one particular position. It does not assess every part of lower body fitness, and a strong result does not automatically mean you are better at squats, running, or other exercises.
It also depends on what makes you stop. Your legs may tire, but you might also stop because your feet are uncomfortable, your back slips, or you are unsure how long you should continue. Research on wall squat tests has examined effort and cardiovascular responses as well as how long participants can hold a position. That is a reminder that the clock captures only one part of the experience.
How to do a wall sit with consistent form
Stand with your back against a clear section of wall and your feet about shoulder width apart. Walk your feet forward as you slide down the wall. Keep your feet flat on the floor and position your knees in line with your toes. Place your arms by your sides or cross them over your chest, then start the timer once you have settled into the position.
Choose a depth you can hold without pain. Many people use a position where their thighs are close to parallel with the floor, but you can start higher if that is more manageable. Keep your back in contact with the wall and avoid pushing through sharp knee pain. Stop the timer if you need to change position substantially or if you feel unwell.
For a useful progress check, record your time and note where your thighs were in relation to the floor. Also write down whether you held your arms in front of you or rested them on your legs. These details help you compare like with like next time.
Keep breathing
A wall sit can feel uncomfortable as the muscles fatigue, but try not to hold your breath. Breathe steadily throughout the hold. If you notice that you are straining or bearing down, end the attempt, rest, and use a higher position next time.
Wall squat research has measured changes in heart rate and blood pressure during the exercise. The response varies with the difficulty of the position, and a more demanding angle can produce a stronger cardiovascular response. If you have high blood pressure, a heart condition, or another health concern that affects exercise, ask a qualified health professional whether this exercise is appropriate for you before doing prolonged holds.
How beginners can build up their time
Start with one or two comfortable holds rather than testing your maximum every day. For example, you might do two or three holds of 15 to 25 seconds, with enough rest between them to feel ready for the next attempt. If you finish each hold with good control and no pain, add a few seconds in a later session.
You do not have to increase the time every workout. You could keep the same hold time until it feels manageable, then add five seconds. Another option is to add one extra hold while keeping each hold the same length. These are straightforward ways to increase the amount of work without turning every session into a maximum effort test.
Research on wall squat training has used much longer holds, including repeated two minute bouts. Those protocols were designed for supervised or structured training studies, including research on blood pressure. They are not a requirement for a beginner, and they should not be confused with a simple fitness benchmark. Start at a level you can control, then progress gradually.
What to do when you reach 60 seconds
If you can hold a consistent wall sit for 45 to 60 seconds, you have reached a useful general fitness goal. You can keep practicing that version, or make the exercise harder. One option is to lower your hips slightly while maintaining a comfortable position. Another is to add a small amount of external resistance, such as holding a light weight against your chest, if you already have experience with loaded exercise.
Change one thing at a time. If you lower your position and add weight in the same session, it becomes harder to tell which change caused the exercise to feel more difficult. Keep the same form and stop when you can no longer maintain the position comfortably.
You can also pair wall sits with exercises that use movement, such as bodyweight squats or step ups. A wall sit can train your ability to sustain a fixed position, while these exercises challenge you to move through a range of motion. They work differently, so neither needs to replace the other.
The number to focus on
For most beginners, 20 to 30 seconds with controlled form is a reasonable first target, and building toward 45 to 60 seconds gives you a clear next goal. These times are practical suggestions rather than validated standards. The most useful measure is whether you can improve your own time while keeping your position consistent and pain free.
3 Best Beginner Back Exercises for Muscle Mass in The Gym
A wall sit is a small test of sustained effort, not a complete verdict on your fitness. Record your starting point, use the same setup when you repeat the test, and let your form guide your progress.
Key Takeaways
| What to know | Practical guidance |
|---|---|
| Beginner starting target | Aim for 20 to 30 seconds with controlled form |
| Next training goal | Gradually build toward 45 to 60 seconds |
| Comparing results | Keep your depth, foot position, and arm position consistent |
| Making progress | Add a few seconds or one hold at a time |
| Staying safe | Keep breathing and stop if you feel pain or unwell |
References
- Goldring, N., Wiles, J.D. and Coleman, D. (2014) ‘The effects of isometric wall squat exercise on heart rate and blood pressure in a normotensive population’, Journal of Sports Sciences, 32(2), pp. 129–136.
- Lea, J.W.D., O’Driscoll, J.M., Coleman, D.A. and Wiles, J.D. (2021) ‘Validity and reliability of RPE as a measure of intensity during isometric wall squat exercise’, Journal of Clinical and Translational Research, 7(2), pp. 248–256.
- Wiles, J.D., Goldring, N. and Coleman, D. (2017) ‘Home-based isometric exercise training induced reductions resting blood pressure’, European Journal of Applied Physiology, 117(1), pp. 83–93.
- Wiles, J.D., Taylor, K., Coleman, D., Sharma, R. and O’Driscoll, J.M. (2018) ‘The safety of isometric exercise: rethinking the exercise prescription paradigm for those with stage 1 hypertension’, Medicine, 97(10), e0105.
